
To finish a granny square, all you need is a simple yet essential technique. With a few deft moves, you can bring your crochet project to a neat and satisfying conclusion.
Once you’ve mastered how to finish a granny square, you’ll be able to round off your creations with finesse and flair.
Let’s dive into the steps for completing your granny square in style.

How to Finish a Granny Square: Step-by-Step Guide for Beginners
Welcome, crochet enthusiasts! Have you just completed your first granny square and are wondering how to finish it off neatly? Don’t worry; we’ve got you covered. In this comprehensive guide, we will walk you through the simple steps to finish a granny square like a pro. By the end of this tutorial, you’ll be able to confidently complete your granny square projects with clean and professional-looking edges. Let’s get started!
Materials You’ll Need:
Before we dive into the finishing process, let’s gather the materials you’ll need:
1. Your Completed Granny Square
Make sure your granny square is finished to the desired size before moving on to the next steps.
2. Yarn Needle
A yarn needle will help you weave in the loose ends neatly for a polished look.
3. Scissors
You’ll need a pair of scissors to cut the yarn once you’ve completed the finishing touches.
Step 1: Fasten Off Your Yarn
Once your granny square is the size you want it to be, it’s time to fasten off your yarn. Cut the yarn, leaving a tail that is at least 6 inches long. Pull the yarn through the loop on your hook to secure it in place.
Step 2: Weave in the Loose Ends
Take your yarn needle and thread the loose end of the yarn through the eye. Weave the needle through the stitches on the back of your granny square to secure the yarn tail. Make sure to weave it in a few different directions to prevent it from unraveling.
Step 3: Block Your Granny Square (Optional)
If you want your granny square to have a more polished look, you can block it. Blocking helps to even out the stitches and shape of your square. To block your granny square, pin it to a blocking board or mat, mist it lightly with water, and let it dry completely before unpinning.
Step 4: Trim Excess Yarn
Once you’ve secured the loose ends and blocked your granny square (if desired), it’s time to trim any excess yarn. Use your scissors to carefully trim any stray yarn tails, making sure not to cut into the stitches of your square.
Step 5: Admire Your Finished Granny Square
Congratulations! You’ve successfully finished your granny square. Take a moment to admire your handiwork and pat yourself on the back for completing this crochet project. Your granny square is now ready to be incorporated into larger projects like blankets, scarves, or even clothing.
With these simple steps, you can finish your granny squares with ease and confidence. Remember, practice makes perfect, so don’t get discouraged if your first few attempts aren’t flawless. Keep honing your crochet skills, and soon you’ll be creating intricate and beautiful granny square projects effortlessly.
Happy crocheting, and may your granny squares always be square and your yarn never tangle!
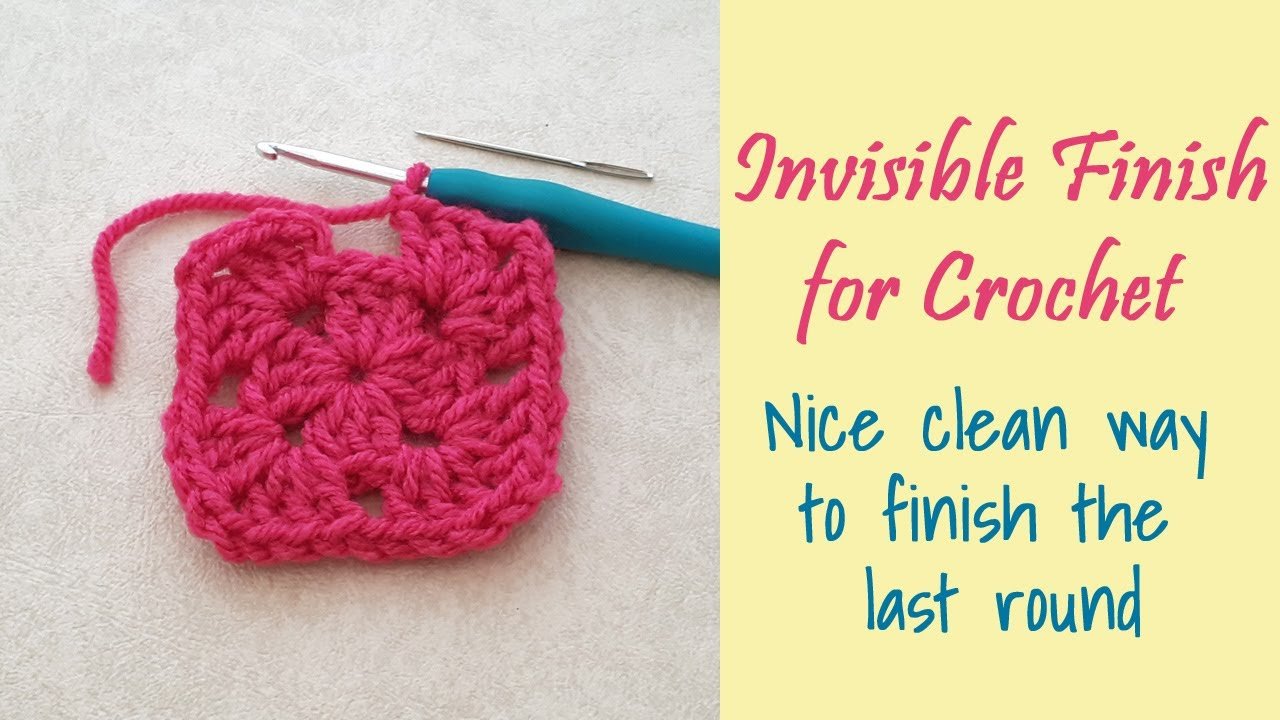
CROCHET: How to do an Invisible Finish
Frequently Asked Questions
How do I fasten off my yarn when finishing a granny square?
To fasten off your yarn when finishing a granny square, cut the yarn leaving a tail of about 4-6 inches. Pull the cut yarn through the loop on the hook and tighten it to secure the end. Weave in the loose end using a yarn needle to ensure it is securely in place.
What is the best way to join multiple granny squares together?
The best way to join multiple granny squares together is to use a slip stitch or single crochet method. Place the squares with right sides facing each other and work through both loops of the corresponding stitches on each square to join them seamlessly.
Can I add a border to my granny square to finish it off?
Yes, you can add a border to your granny square to give it a more polished and finished look. Choose a complementary yarn color and stitch pattern to create a border that frames your square beautifully. You can use single crochet, double crochet, or a combination of stitches for the border.
Final Thoughts
To complete your granny square, fasten off the yarn and cut it, leaving a tail to weave in. Weave in the yarn ends securely using a tapestry needle to prevent unraveling. Remember to block your granny square to give it a polished look. Now you have mastered how to finish a granny square with finesse. Happy crocheting!